Reverse Engineering & Inspection
Workflow
How this job is marked
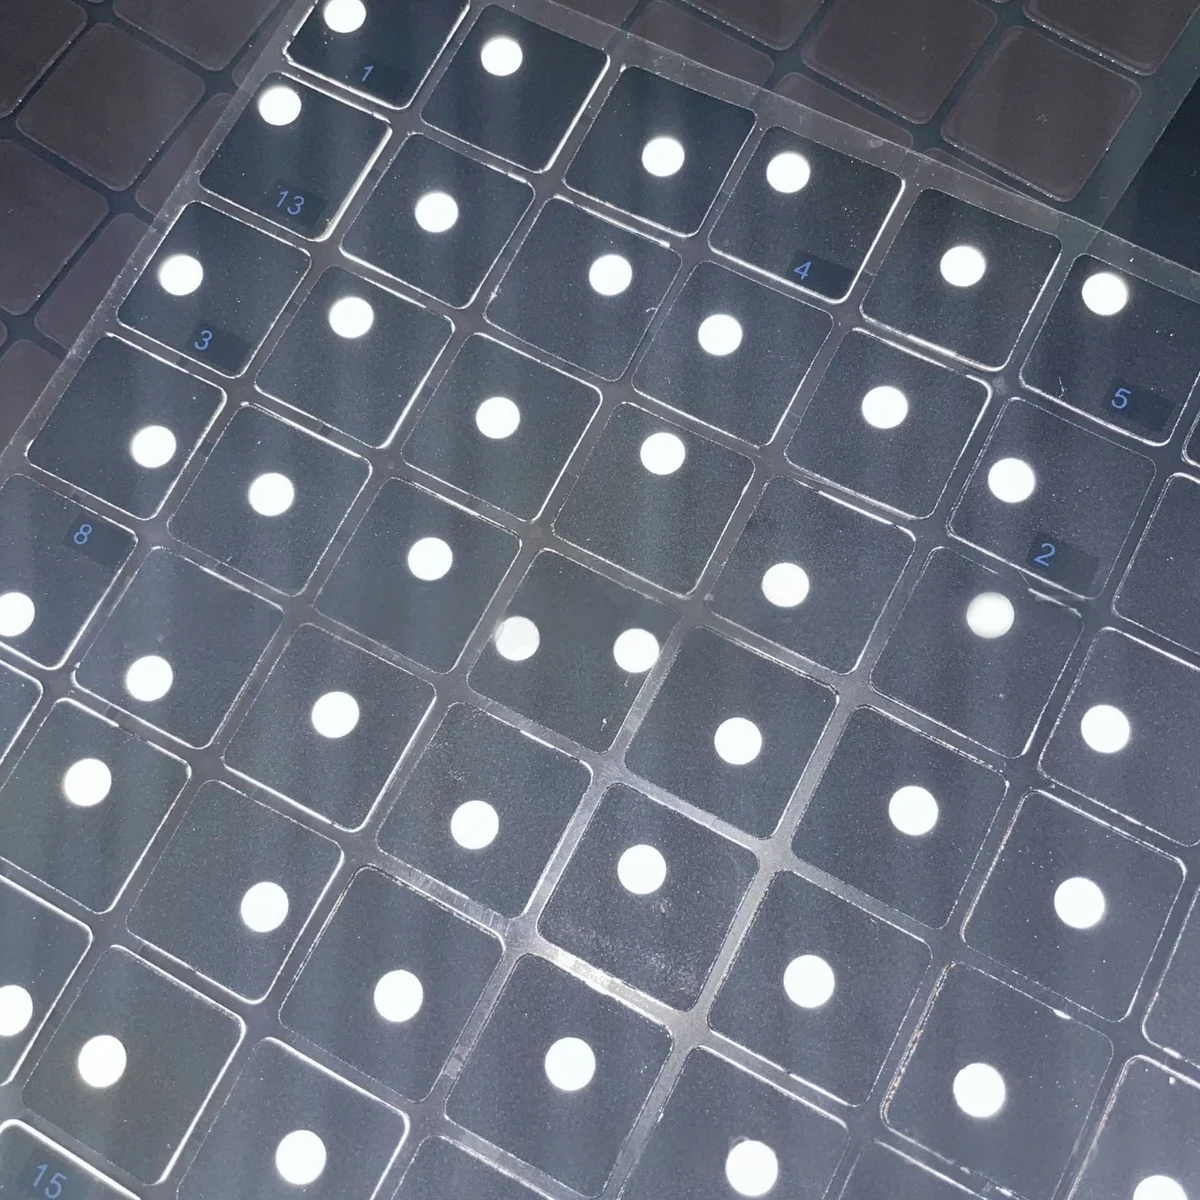
- Step 1 — Fixture the part: magnetic points and reference cubes on ferrous surfaces, no adhesive residue on machined datums.
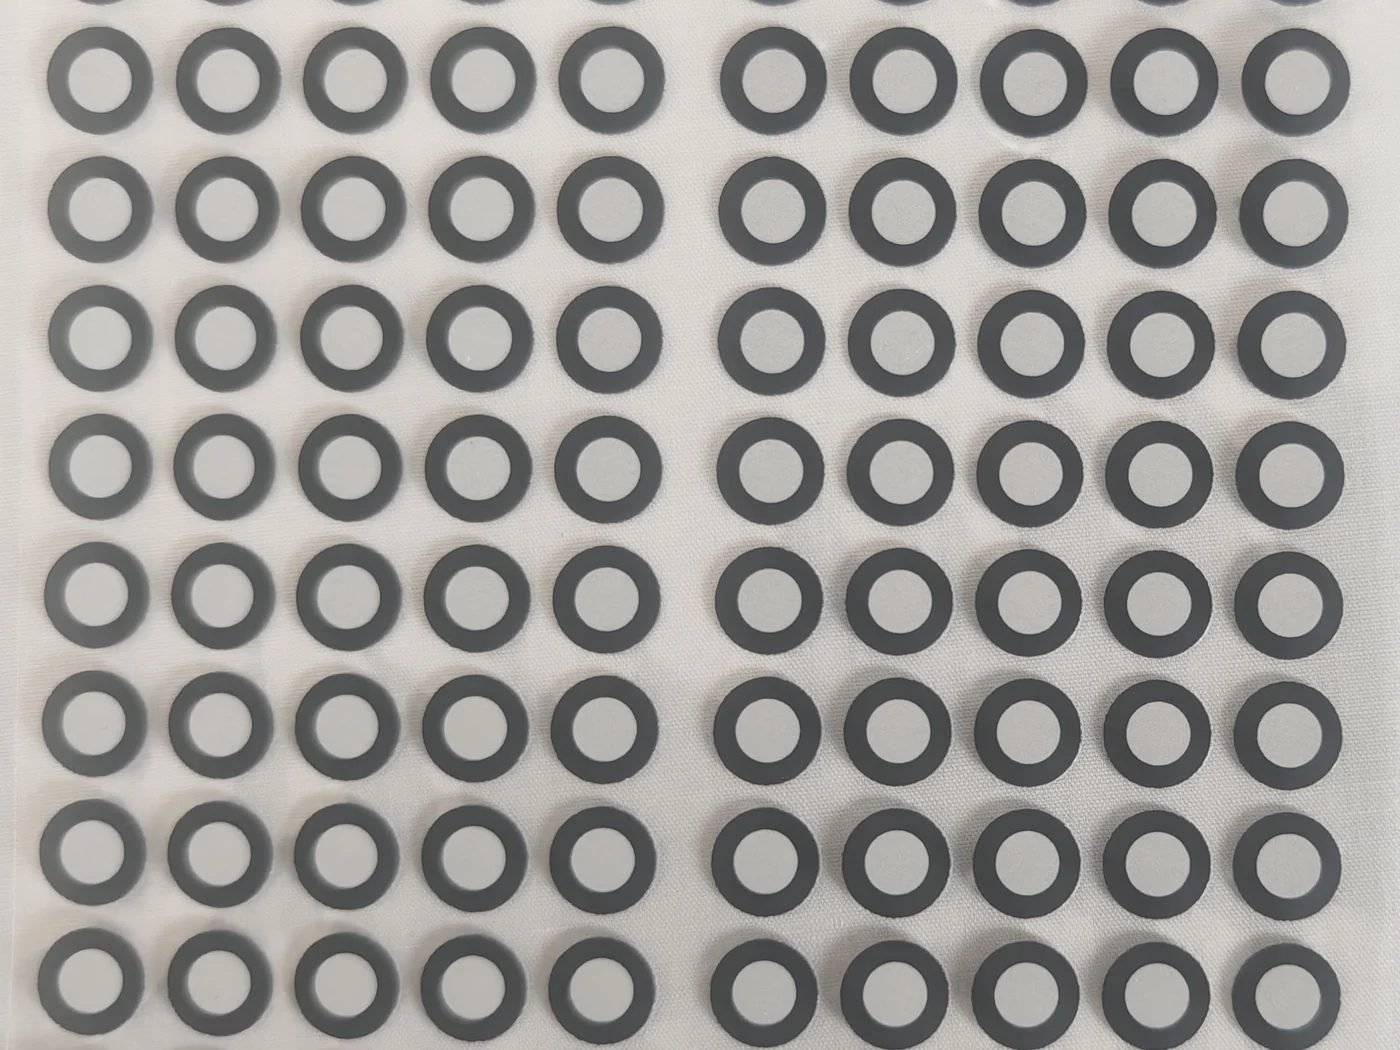
- Step 2 — Mark painted or composite shells with hollow-ring dots sized to your scanner — inner 3–12 mm is typical.
- Step 3 — Spray shiny machined faces with Tarnish and scan inside the sublimation window; nothing to clean afterwards.
- Step 4 — Merge sessions with coded targets when the network spans several setups.
What the kit contains
Most inspection jobs need three things: something to align the scanner, something to hold the surface matte, and a reliable datum between sessions. The three families below cover that loop.



In the field
How it looks on the subject
Bench photographs from the same product families.
Field notes
Read before you order
Get a factory quote within 24 hours
Send sizes, threads and quantities — or just the scanner or tracking system you run. We answer with a specification match, MOQ and factory pricing.